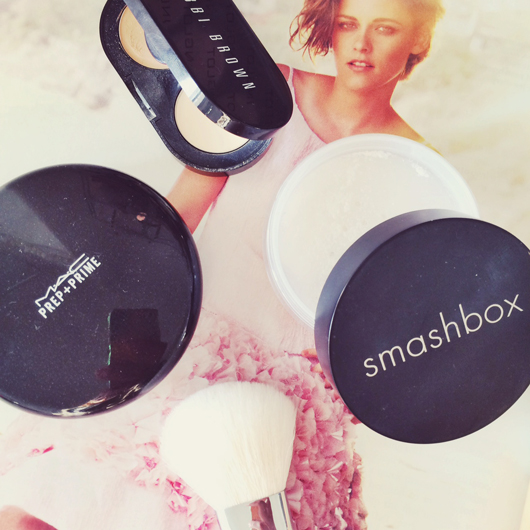
This post is inspired by an email we received from a reader who wanted some advice about the best way to cover her dark under-eye area. It’s something that we cover briefly in most of our video tutorials but perhaps it begs a more detailed explanation – it is an art, after all! And as much as beauty and skincare brands would love you to believe it, there is no one miracle product that will do the trick. Instead, I rely on a combination of three makeup items to banish my bags – here’s how it works:
Step 1: Corrector
The first and perhaps most critical thing that you will need is a good corrector, which usually takes the form of a high coverage, peach/pink toned cream. The logic is that these colours are the opposite of blue/purple on the colour wheel, so by applying them under your eyes, you counteract the darkness and even out the skin tone. The reason it is important is that concealer applied directly to dark shadows generally looks ashy, but concealer applied to “corrected” skin brightens everything up instead.
HOW TO USE IT
Apply a thin layer only where you skin looks dark e.g. very inner corner and/or outer corner of the under eye area, don’t just slap it all over your face. You can go pretty wild in the next step but corrector requires much more specific placement. Corrector is usually quite pigmented so a little should go a long way, plus it’s much more likely to crease if you apply too much.
PRODUCT RECOMMENDATIONS
Bobbi Brown Corrector (go to a counter and get colour-matched) – R285 for 1.4g
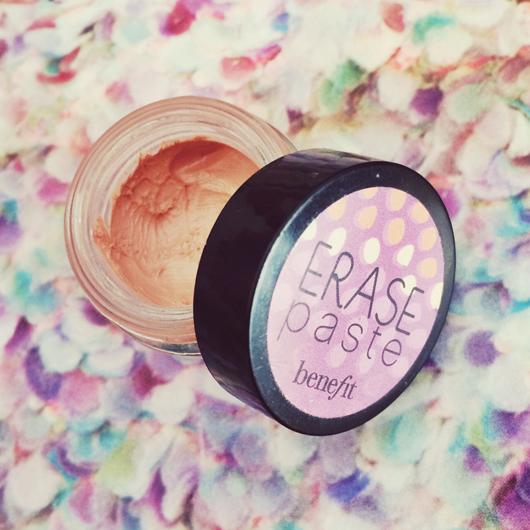
Benefit Erase Paste (available in selected Edgars/Red Square stores) – R325 for 4.4g
MAC Studio Conceal and Correct Palette (four concealers and two corrector shades) – R450 for 6 x 1g
I know these prices probably seem expensive for a small pot but trust me, it will last you AGES! Also, notice how much better value for money the Benefit Erase Paste is in comparison to the Bobbi Brown corrector…
Step 2: Concealer
I usually let my corrector set a little while I fill in my eyebrows or something; this isn’t totally necessary but it just means there’s less chance of moving it around when I come to apply my concealer over the top. This step serves to brighten the area and conceal any remaining darkness, and there are two options: You can use a regular concealer or a highlighting one, depending on your preference. As the name would suggest, highlighting concealers contain light-reflecting particles that help to illuminate the skin (this is what I use). Regular concealers are usually a bit heavier in consistency and contain more pigment, so are better if you feel you need some serious coverage. Your under-eye concealer should be 1-2 shades lighter than you skin tone, either way.
HOW TO USE IT
My preferred method is to roughly tap or brush on a highlighting concealer, going under my eyes, along my cheekbones and down either side of my nose (stick to just underneath your eyes if you’re using a regular concealer). I then either blend this in lightly with my fingers or using a dampened beauty sponge, like the Real Techniques Miracle Complexion Sponge. You can also use a brush (the Sigma P84 is good) but I find this can disturb the base and corrector underneath.
PRODUCT RECOMMENDATIONS
“Regular” concealer:
Clarins Instant Concealer – R310 for 15ml
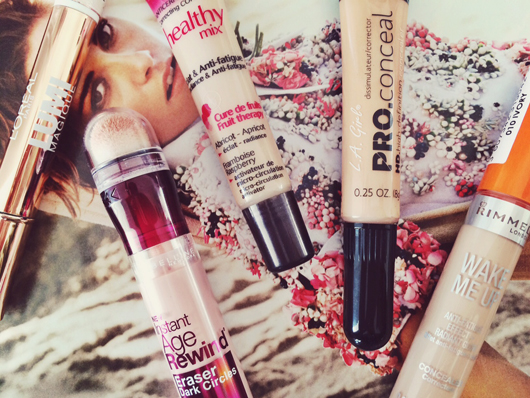
L.A. Girl HD Pro Conceal – R30 for 8g
Bourjois Healthy Mix Concealer – R120 for 10ml
“Highlighting” concealer:
Clinique Airbrush Concealer – R230 for 4.6g
MAC Prep + Prime Highlighter – R270 for 3.6ml
The Body Shop Lightening Touch – R130 for 3ml
Step 3: Powder
Ideally you want to then set the area with a translucent or yellow-toned (brightening) powder. This not only helps to set the concealer, making it last longer, but it also helps to avoid creasing. The best ones are finely milled with little to no pigment and will also absorb oil throughout the day, further improving the wear time of your makeup. I usually recommend a pressed powder but you could use a loose powder too – just be careful not to overdo it.
HOW TO USE IT
Dust the powder very lightly over the concealer with a small/medium-sized brush – not those huge fluffy things we normally think of when putting powder on your face. A more compact brush (my favourite is the Real Techniques Setting Brush, but I’d also recommend the Sigma F55, MAC 138 and Zoeva Luxe Highlight brushes) allows precision placement of the powder so you only set and mattify the areas that need it. Powdering over your whole face can make your complexion look flat and lifeless; I personally stick to everywhere I put concealer plus a little in the middle of my nose, forehead and chin.
PRODUCT RECOMMENDATIONS
MAC Prep+Prime Transparent Setting Powder – R330 for 6.3g
Bobbi Brown Sheer Finish Pressed Powder – R465 for 11g
Rimmel Stay Matte Powder (Transparent) – R93 for 14g
The causes of dark under-eye circles are numerous and well documented (lack of sleep, genetics, age, hyperpigmentation, allergies, etc.) and makeup isn’t going to solve any of those problems; it just covers it up. It’s best to consult with a specialist or aesthetician (e.g. Skin Renewal) if you really want to tackle the root of the issue.
